Why we love Zellige; It’s handmade, no two pieces are the same. It’s organic. You have permission to not be a professional to install this tile because it’s so natural looking the imperfections are why we love it!
Step 1. Hire one of our designers to find the perfect piece- Just kidding! You have great taste. Pick your tile, some of our favorites that we’ve used in past projects include:
Glazed Earth- high variety, warm complimentary sunset tones, soft purple and pink hues
White pattern - funky mix match of pattern, brings you back to the 20’s art deco with a mediterranean flavor.
Gold finch- so yummy and happy, vertically stack these bad boys and wow you just set the bath bar high!
Pro Tip*- always get a sample, it will never be the same color from your screen, especially handmade*
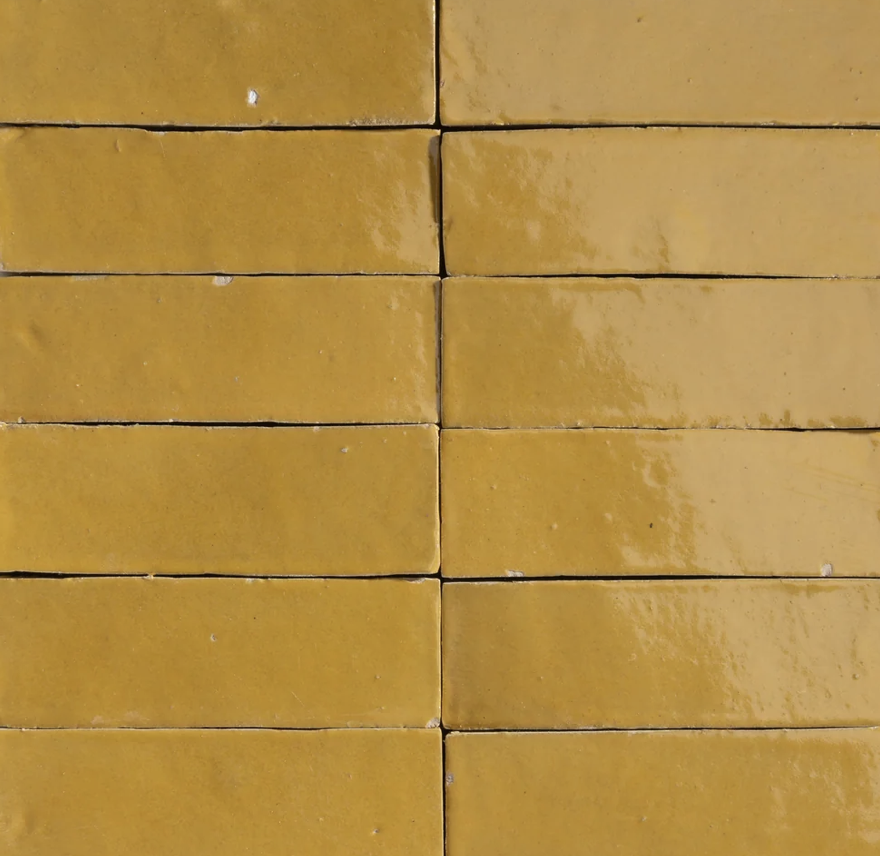
Gold Finch from Riad
Step 2. Select location- if this is a waterproof place, shower/ bath there must be a backer board (hardie back / cement board) installed. If you are doing a more asethetic backsplash you may use sheetrock. Although backer board is highly recommended.
Step 3. Gather materials (list at the bottom).
Step 4.
Clean wall and mark in pencil where you want the tile to go.
Lay out your tiles, go through the good, the bad, the ugly and lay out the ones you like (Pro Tip* You can save the chipped ones for cuts)
Mix thinset (follow instructions, mix in smaller batches), apply thinly with trowel to the wall and some to the back of your tile. We mound it in the center and then we can adjust which corner needs more or less, because Zellige tiles are very irregular, which makes them beautiful.
Apply the tile in a horizontal line, making sure your line is straight.
Pro tip*, you don’t need spacers for zellige (unless you want more groutlines but with the variation of tile that adds to the busyness). You can insert folded paper between if some sink lower and move your lines.
Continue to apply horizontal line by line.
If you need to make cuts, measure and mark the lines and use your wet tile saw or angle grinder with diamond blade.
When done applying tile, clean with wet sponge and let dry for at least 24 hours.
Step 5.
Mix grout, we love to match monochromatically to one of your tiles.
Apply grout in between tiles with a rubber float, remove excess with wet sponge.
Clean and allow to dry! If you are using a schluter for the edge, apply that or you can mix a color into silicone caulk for corners and edges.
Voila! You are now an expert tiler ;) Send us a photo or tag @commongoodinteriors if you braved this DIY project.

From our Appalachian Cookie co. project. We designed a custom bar and then used the tile to create one of a kind paintings to go with the space!
Material List:
Tile - go wild!!
Backer Board if using
Grout - you can also go to your local tile store to see samples with your tile.
Silicone - you can also color match this
Sponge - also grab a bucket while you’re at it for fresh water to clean.